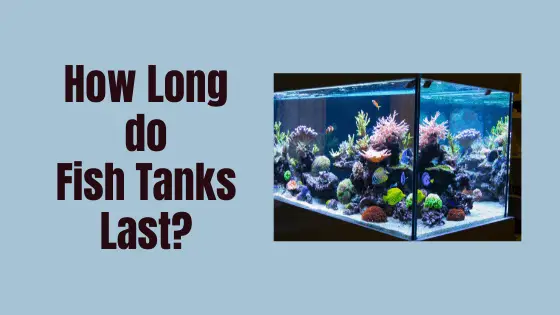
Fish tanks come in many different shapes and sizes, some with heaters and filters attached, whilst others are just the tank on its own. In this article, we will delve into the wonderful world of fish tanks, how long do fish tanks last, and how to deal with leaks.
If handled properly, glass fish tanks can last up to 20 years. Different factors that affect their lifespan include how level the tank sits, what the tank sits on, temperature changes, ultra-violet lighting, type of sealant, and quality of the glass.

How Strong are Glass Fish Tanks?
Glass aquariums are built to last a long time, and that means they can (and should) stand the test of time. Glass aquariums are simply glass panels held together by an adhesive, usually silicone. This adhesive can be pretty solid when done correctly, and, if bought from trusted manufacturers, the glass aquarium should last decades. This leaves the weakest link in the chain being the glass.
I bought a 65 litre tank about 6 months ago which came with a cupboard unit underneath. It took me 4 hours to build the cupboard (when I say ‘me’, I actually mean my Dad. I kept out of the way).
When it was finally built, we opened the box that had the tank in and it was in thousands of tiny pieces! It must have been dropped in transit.
There is a lesson to be learnt with my little anecdote. When you buy your fish tank, inspect it thoroughly for any tiny specs or cracks. It may look like nothing, but once it is filled with water, it will be game over.
If you live in an area often plagued by tremors or earthquakes, then you might be better getting an acrylic fish tank, as these will not shatter.

How Long Do Acrylic Fish Tanks Last?
Acrylic tanks can last anywhere from 5 – 15 years. If handled properly, it is possible that they can still be in perfect condition after 20 years.
Acrylic aquariums are built to be strong, as they’re made from a transparent thermoplastic (also called an acrylic or plexiglass sheet). These acrylic sheets are bonded together, not glued as glass tanks. The acrylic cement softens the plastic surfaces and allows the panels to merge. The materials intertwine and literally become a single piece. This minimizes any possible weakness that might arise along the edges of the aquarium.
Also, unlike glass tanks, acrylic aquariums are less susceptible to breaking or cracking. They will also not require resealing as they get older. In fact, attempting to reseal an acrylic tank can help to weaken the seams even further.
Do Fish Tanks Leak?
Fish tanks can leak for a number of reasons.
Primarily, leakages in aquariums occur when there is a flaw or failure in the sealant that holds the panels of the aquarium together. This could be caused by a gradual degradation over time, a construction flaw of the aquarium, or exposure to a corrosive element that weakens the molecular bonds of the sealant. These factors could result in leaks that can be as small as a pinhole or a major as the shattering of the binding panels of the aquarium.
In most cases, you can solve a pinhole leakage from the outside without having to empty the aquarium or tear the whole tank apart. But for significant leakages or breakages, a complete reconstruction of the tank may be the suitable route.
To avoid such disasters from leakages, here are some preventive strategies you could apply:
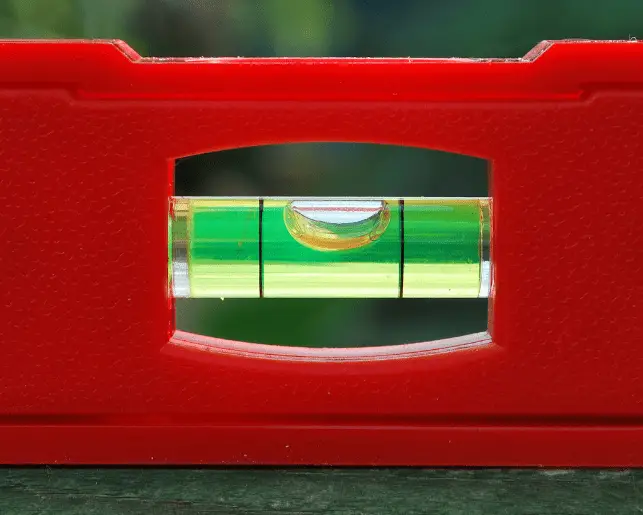
- Ensure the aquarium is level. You’d be amazed how many aquarium disasters occur because the fish tank isn’t completely level before adding water. When the aquarium isn’t balanced on the surface it sits, the pressure won’t be well distributed in the tank, and this will start to weaken over time. Before filling the aquarium with water, use a spirit level to check your tank is well balanced.
- Check your glass aquariums regularly. Every once in a while, take a close look at your fish tank, and this time, don’t just look at the fish, but at the silicone. Check to see its integrity. If it seems to be getting unstuck, then take corrective actions to prevent an imminent leak.
- Be wary of second-hand tanks. Buying a second-hand tank can seem like a great deal, but it can also come with some complications. If the tank is running when you buy it, then it can be safe to say you’d be good to go but bear in mind that the process of wear and tear had already begun, and the tank might not last as long as it would have if it were brand new. When purchasing a second-hand aquarium, especially a glass tank, check the silicone as you would for your own tank. If the tank seems ridiculously old, you might want to skip on the deal just to be on the safe side. If the tank had been dry for a while, then be sure to redo the silicone lining before filling up the glass tank with water because the dry tank wouldn’t reveal any weaknesses in the silicon lining, and filling in water in a compromised tank would probably result in a wet floor.
What to do if an Aquarium is Leaking
1. Don’t panic. Panicking won’t solve anything. Try and follow these steps.
2. Cut the power. Disconnect any electricity supply in and around the aquarium. This is a precautionary measure to avoid any possible electrocutions as you execute these steps. It’s already a bad situation dealing with a leak; you don’t want to electrocute yourself or your fish in the process.
3. Collect the water. Quickly grab some buckets and place them below the aquarium to collect the leaking water, so it doesn’t roll off on the floor.
4. Grab some towels. Use these towels to soak up the spilled water. This will present any more damage to the surrounding area. Try and move any surrounding furniture away from the area if possible
5. Clog the leakage point. Grab something that can close up the leaking spot, like the towels we mentioned earlier or a rubber stopper or even duct tape. This would stop or at least slow down the leakage rate, giving you time to find a permanent solution to the leak.
6. Rescue the fish. At this point, safely transfer the fish from the leaking aquarium into a bucket containing water from the aquarium. Place your filter on these buckets to keep your bacteria (and fish) alive.
7. Deconstruct & rebuild. If it is clear that the tank needs to be fixed from the inside, remove everything from the aquarium. Transfer the rocks, gravel, and ornaments etc from your aquarium to a temporary location. At this point, the focus isn’t arranging these elements but merely safeguarding them for when your aquarium is all patched up. Try and keep as much of the tank water as you can. Put it in the bath if you have to. This will save you having to fully cycle the tank again.
8. Reseal or replace. Having emptied the aquarium, you can carry out the necessary repairs. If the tank is beyond repair, you need to replace it as soon as possible so you can get your fish settled quickly.
Is it Easy to Reseal a Fish Tank?
In most cases, resealing a fish tank isn’t a difficult task, and if you’re a DIY kind of person, you can probably reseal it yourself quite easily. But bear in mind, resealing your fish tank doesn’t make it as good as new, and further complications could arise in the near future. Because of this, some people will argue that resealing isn’t worth it.
But whether or not resealing a fish tank is worth it is up to you. Here are some quick steps to reseal your tank.
1. Remove the fish, drain out the tank and clean it thoroughly.
2. Remove the old sealant with a straight razor.
3. Clean the old residue of the sealant off with acetone. Ensure the entire joint is free from old sealant, and even a thin layer of old sealant can render the new coating ineffective. A clear surface will ensure a solid seal with the new bead.
4. Apply a ¼” bead of aquarium sealant along the outside of the joint. Then move to the interior of the tank and repeat the process. As you do this, ensure the silicone bead separates all glass walls and there are no air bubbles trapped in the seal. Water pressure can push the sealant loose if done poorly, so don’t forget to apply the inner bead of sealant! The purpose of the interior bead is to reinforce the strength of the sealant.
5. Repeat the process on all the other joints.
6. Allow cure time to be reached before putting any water into the tank.
7. Refill the tank 3 inches at a time while checking to ensure your seal is secure.
Conclusion
A good fish tank, placed in the correct position, will usually last for decades, depending on how well they’re handled.
If or when leaks do occur, you can follow the the above steps to try and salvage your tank.
Hopefully though, your fish tank will live a long and leak-free life!